Total Cost Thinking for Professionals: Bosch, Hand Tools, and Check Valve Installation
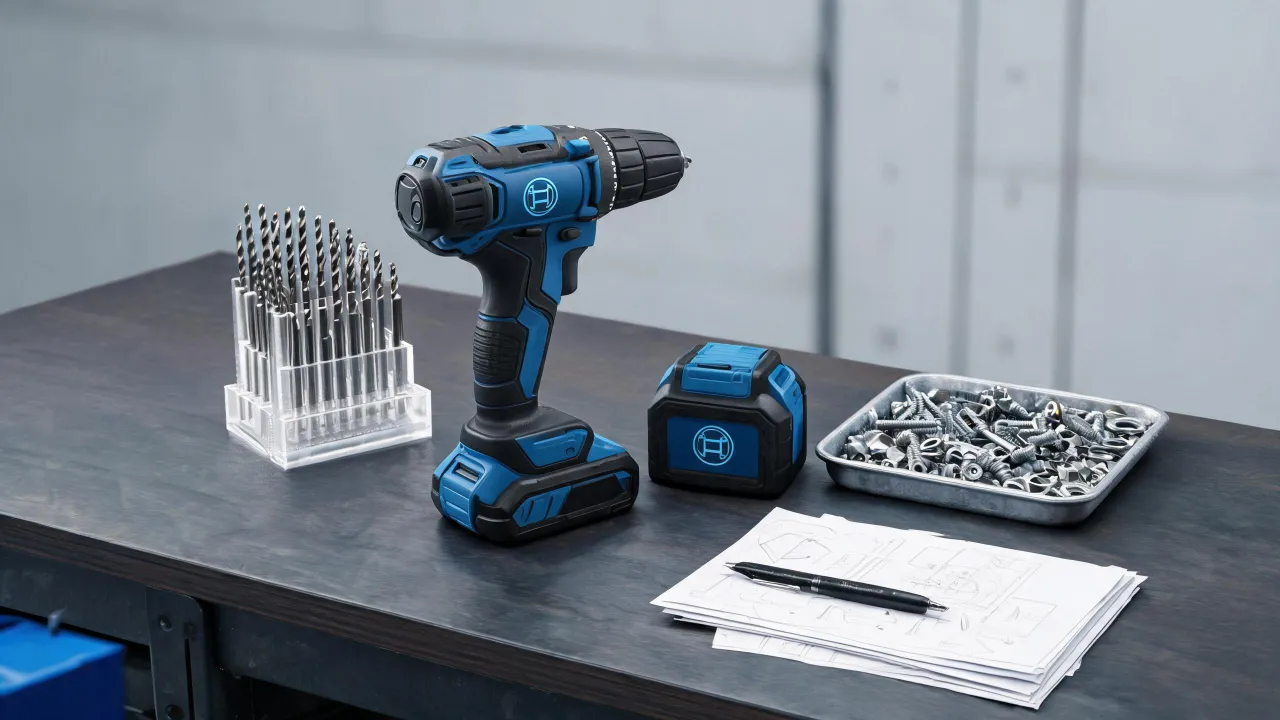
Buying tools and components on sticker price alone is how a $12 valve turns into a $22,000 repair bill. I'm a quality and brand compliance manager at a power tool company, and I review roughly 200 unique products a year—tools, accessories, and replacement parts that suppliers send us. Over 4 years of doing this, I've seen the same pattern: someone saves a few dollars on the thing that attaches to the thing that matters. So here is the direct answer, before anything else: The lowest quoted price is rarely the lowest total cost. If you only read one sentence, that's the one. TCO, not unit price, is what separates a professional purchase from a costly experiment.
Why I stopped comparing sticker prices
In Q1 2024, our team received a batch of accessories where the spec was visibly off—the plating thickness measured 12 microns against our 20-micron standard. Normal tolerance is ±3 microns. The vendor claimed it was "within industry standard." We rejected the batch. They redid it at their cost, but our launch date slipped by two weeks. That missed window cost us more than the parts. That was when I started calculating total cost of ownership for every product I approve.
What I mean is that the "cheapest" option isn't just about the sticker price—it's about your time managing issues, the risk of delays, and the potential need for redos. A colleague asked me once whether I was being too harsh on a supplier. No—I was being realistic. The supplier's low bid didn't include the two weeks we lost or the customer calls we had to explain. Total cost includes the base price, verification time, downtime, rework, and risk. Once you put those numbers on a sheet, the "cheap" option often disappears.
Tools I've seen fail—and what actually failed
Most buyers focus on the big purchase—the drill, the impact driver, the pump—and completely miss the small components that connect to it. This is an outsider blind spot. A worn 12-point socket can round off a bolt head. A ball-end hex key can slip at high torque. These aren't exotic failures. I've seen them happen on otherwise good equipment, and the root cause is almost always a hand tool that wasn't matched to the job.
Take a Drive Master metric socket set. It might be a perfectly fine budget choice for general work. But if you're using it on an impact wrench, check whether the sockets are rated for impact. Standard chrome sockets can shatter. Same with a t handle allen wrench set: the ball end is great for speed, but not for final torque. Use the straight end to avoid stripping the screw head. The cost of a stripped fastener isn't the fastener—it's the labor to remove it. In a production environment, that labor can include tearing down the whole assembly.
At my company, we test Bosch professional power tools with both premium and budget hand tools. The budget tools don't always fail immediately. They fail intermittently—or rather, they fail inconsistently enough that the operator doesn't recognize the pattern. A socket that slips once every 50 fasteners is more dangerous than one that fails visibly on the first use. That kind of inconsistency is easy to miss until it produces a batch of damaged parts.
The Bosch CP4 fuel pump: a case study in total cost
The Bosch CP4 fuel pump is a good example of why TCO beats price. The CP4 is used in high-pressure diesel injection systems, and it has a reputation that causes a lot of anxiety among fleet owners. Some of that reputation is earned, and some isn't—or rather, a lot of it comes from fuel quality issues, not from the pump itself. According to Bosch service literature (bosch.com, 2024), the CP4 is sensitive to fuel lubricity and contamination. If it fails, the metal debris can go through the entire fuel system—injectors, rails, lines. That is a much bigger bill than the pump itself.
A cheap aftermarket "remanufactured" pump might cost 30% less than a genuine Bosch CP4. But if it fails early, you're paying for the pump, the fuel system flush, and the labor—often twice. I went back and forth between OEM and aftermarket for our fleet supplier list. OEM had the reliability data; aftermarket had the price. Ultimately chose OEM because a roadside breakdown is a lost contract, not just a repair. The lesson is simple: when a failure contaminates everything downstream, you don't want to be the person who saved on the upstream part.
Bosch heat pump tech support: use it before you replace anything
Bosch heat pump tech support is one of those things that feels like a waste of time—until it saves you a $3,000 compressor. In my experience, when a heat pump stops working, most technicians jump straight to "replace the part." But I've seen cases where the error code was caused by a sensor orientation issue, not a failed compressor. A single phone call to Bosch heat pump tech support can give you the troubleshooting tree, torque specs, and sometimes a part revision update. The question everyone asks is "How fast can I get the part?" The question they should ask is "Has anyone confirmed the actual failure mode?"
Here's the thing: I've also seen contractors ignore tech support, order a replacement board, and then discover the old board was fine after they installed the new one. The old part goes in the trash, and the invoice still gets paid. Calling support first is the cheapest diagnostic tool you own. It costs nothing, and it can prevent a return trip. In one field case, the installer was convinced the compressor was dead. Bosch heat pump tech support walked him through a 10-minute test sequence, found a wiring misconnection, and the unit ran fine. The only replacement needed was the $5 connector.
I've been in that spot myself: had two hours to decide whether to authorize a compressor replacement, with the building owner waiting on a quote. Normally I'd want a full diagnostic report, but there was no time. I called Bosch heat pump tech support anyway, and the technician asked one question about the low-pressure reading that changed the whole diagnosis. In hindsight, I should have pushed back on the timeline. But the call cost five minutes and saved the owner thousands.
Which way should a check valve be installed?
This one comes up more often than you'd think: which way should a check valve be installed? Here's the answer: the arrow on the valve body points downstream, in the direction of flow. That sounds simple, but I've seen check valves installed backwards in commercial plumbing and HVAC systems. At my company, we don't make check valves, but we see enough field failures to know that installation details cause more problems than parts do. The result is no backflow protection, plus water hammer and reduced pump efficiency.
According to check valve manufacturers' installation guides, some spring-loaded check valves are orientation-specific. Some can be installed horizontally; others must be vertical. If you ignore the orientation spec, the valve can chatter, wear out prematurely, and eventually fail to seal. In one case, a backwards-installed 1-inch check valve caused a water hammer event that damaged a circulating pump. The valve cost about $25. The repair cost $22,000. That's the kind of number that turns a simple plumbing question into a company-wide review.
When a budget tool is okay
Let me be clear: I'm not saying you need a premium version of everything. For light-duty, non-critical jobs, a Drive Master metric socket set is probably fine. A t handle allen wrench set with ball ends is fine for furniture assembly. A generic check valve might work for an irrigation line with low flow and easy access. At least, that's been my experience in the power tool and component space. The problem isn't the low price; it's the lack of verification.
Ask yourself: if this part fails, what does it cost me? If the answer is "nothing, I'll just redo it," buy based on price. If the answer is "downtime, property damage, or safety," buy based on specifications and verified quality. That's not a brand-loyalty speech. It's a total cost calculation. The cheapest tool is only cheap if it works every time you need it.
Real talk: I've rejected first deliveries from some of the biggest names in the industry, and I've approved parts from obscure suppliers. The brand name isn't a guarantee, and neither is a low price. But the fastest way to reduce risk is to verify specs, call tech support when you're not sure, and never assume installation direction. The things that fail are rarely the things you purchased. They're the things you attached to them.

Maren Jorgensen
Maren Jorgensen is an independent hand tool and torque applications analyst covering wrenches, pliers, screwdrivers, hammers, sockets, ratchets, hex keys, and tool sets. She applies ISO 6789-1 torque-tool conformance principles while examining jaw capacity, leverage, fastener engagement, torque range, accuracy, handle geometry, and material hardness. Her practical guides help tradespeople and procurement teams select suitable tools, plan controlled tightening, and compare durability without relying on brand reputation alone.